Description
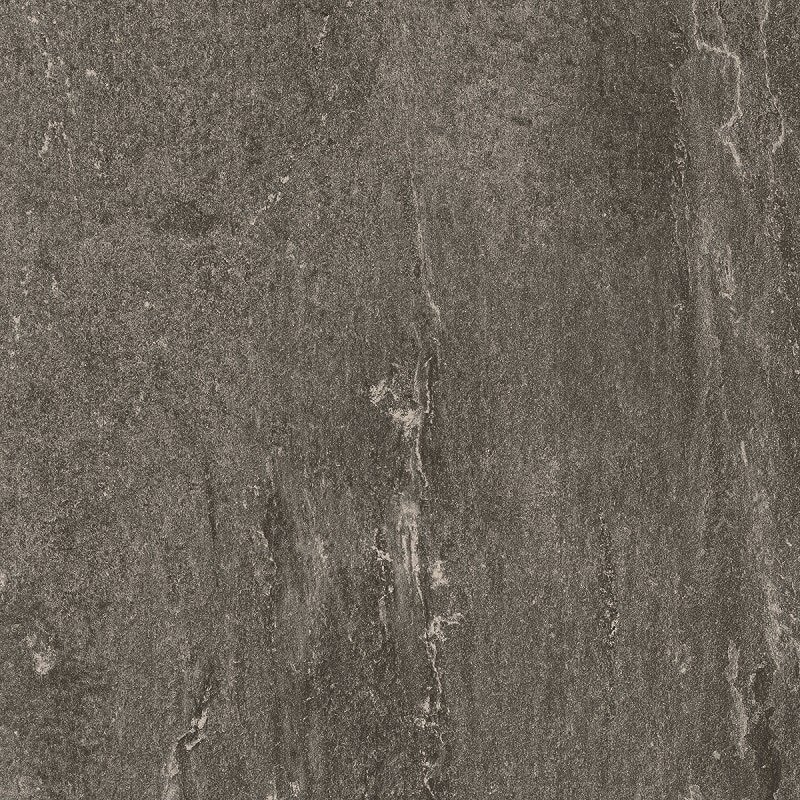
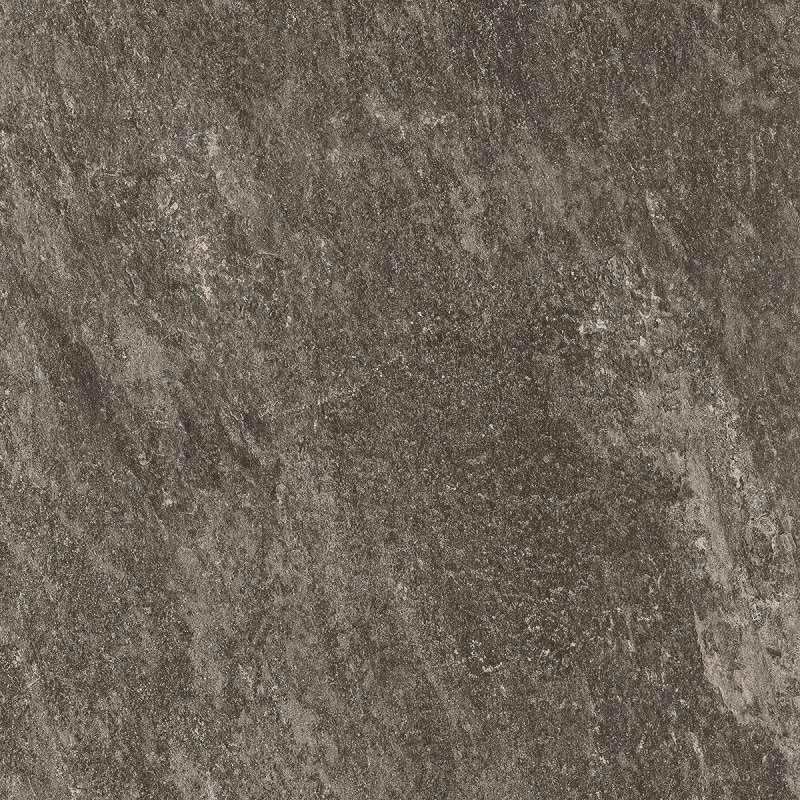
Lake Quartz Black Porcelain :
The Lake quartz black porcelain has a thickness of 20mm, making it suitable for use on patios, pathways, and roadways. The tile is also frost-resistant, making it ideal for usage in inclement weather. The tile is also liquid-resistant, protecting it from spills as well as extra water damage.
This paving choice is ideal for both commercial and residential applications due to its ability to withstand significant foot traffic. Because of its low water absorption rate, ceramic tile is resistant to freeze-thaw cycles, which means it can withstand huge temperature fluctuations without breaking or splitting.
Lake quartz black porcelain paving slabs are ideal for outdoor areas with water features, swimming pools, and spas. Paving slabs are an excellent alternative. Because of their sawn edges and matte slip-resistant qualities, these paving slabs provide impermeable stability, lowering the risk of slips, trips, and falls. Because of its slippage resistance, this pavement is safer than resorts in any outdoor area.
Conclusion:
The Lake Quartz Black Porcelain Paving Slabs are a stunning and high-end paving solution that is great for creating an incredible outdoor space. Because of its distinct design, superb polish, and resilience, it is an excellent choice for both homes and businesses.
The paving built of Lake Quartz Black Porcelain looks great in almost any location and takes little upkeep to keep its charm. It is a luxurious option in any landscape and has a slipping-resistant outer layer.
You can also Check our related Products Lake White Quartz Porcelain Paving From here.
Slip Resistant – Stain Resistant – Frost Proof – Fade Resistant – No Maintenance Required!
Suggestions laying with adhesive on a Screed
1 Apply the adhesive spreading two layers, one on each surface (on the tile and on the foundation).
2 Arrange gaps of 3-5 mm between the tiles using the cross spacers provided for this purposes.
3 Upon completion, clean the surface thoroughly removing all residues of plaster and adhesive.
Suggestions laying dry on Grass
1 Once the positions of the tiles have been decided upon, remove the grassy surface for a depth of about 5 mm.
2 Place a layer of fine gravel or sand in the empty space to level it & stabilise the tile.
3 Position the tile, checking that it is flat and correcting this if necessary
Suggestions laying dry on Gravel and Sand
1 Flatten the surface of the foundation with the help of a leveling bar.
2 Choose the pattern, arranging the tiles on the ground.
3 Position the tiles exactly, using a bar to space them out (or cross spacers if positioned close together) to improve the alignment.







 WhatsApp to INQUIRE
Reviews
There are no reviews yet.