Description
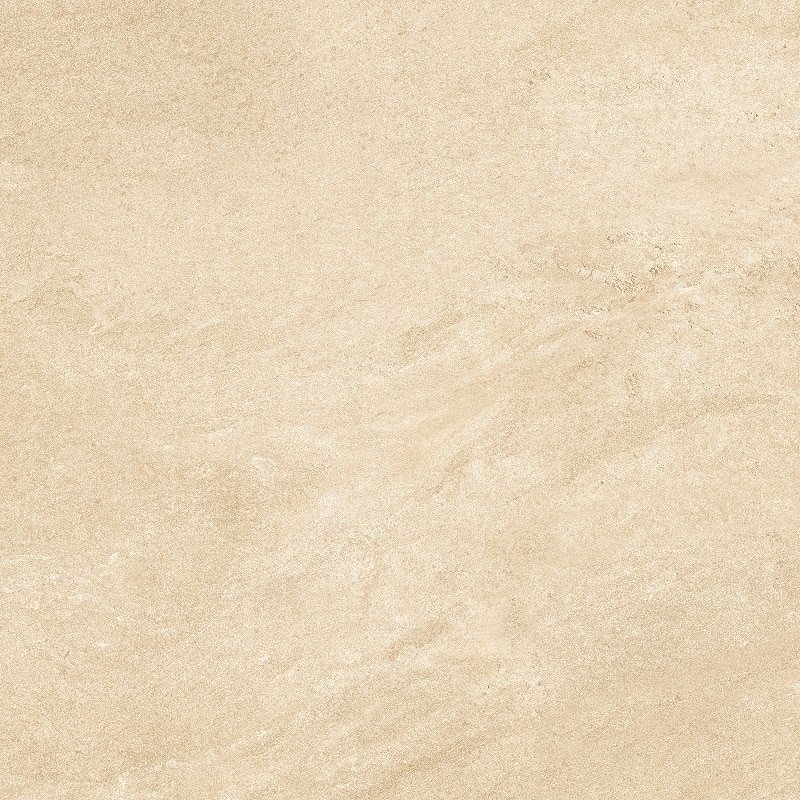
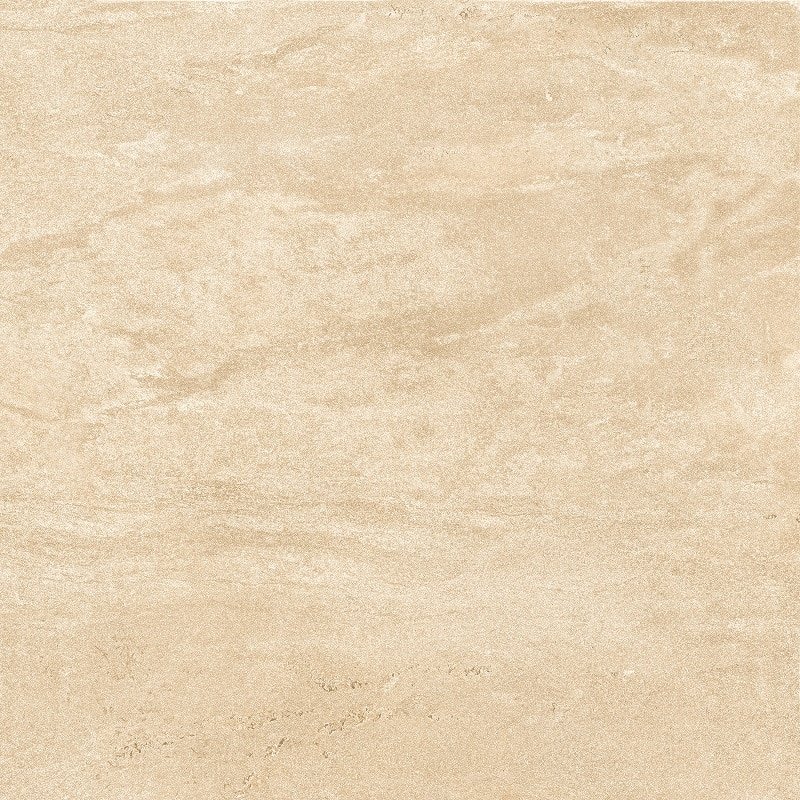
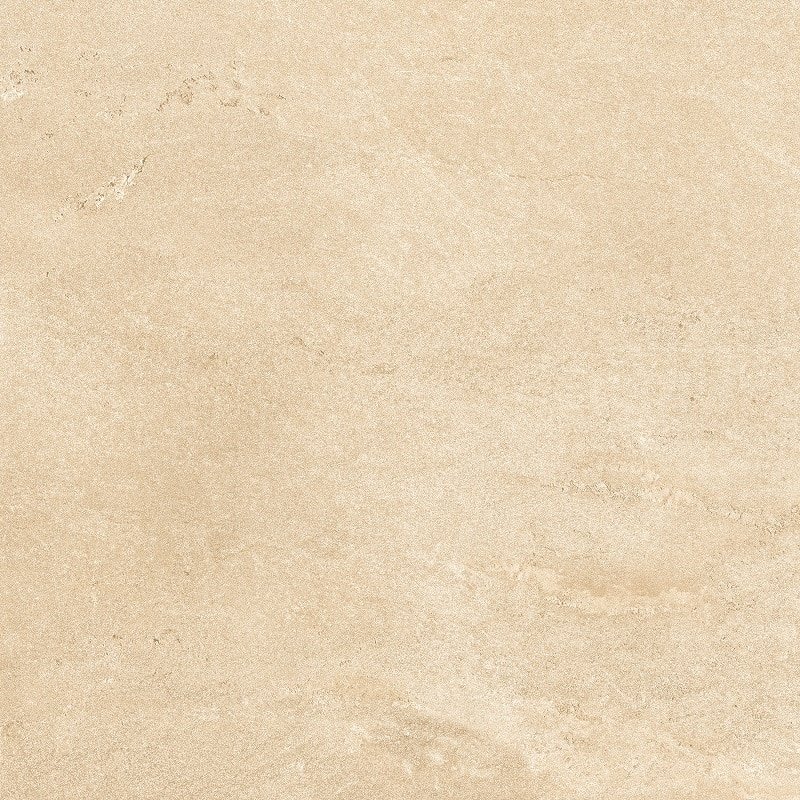
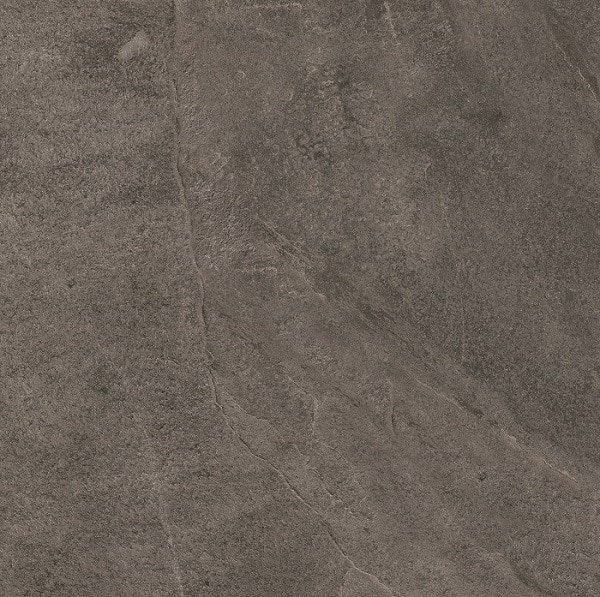
Lake Sand vitrified porcelain paving :
Lake sand porcelain paving has a natural appearance. The lake sand porcelain paving surface has a rustic and natural appearance. This makes it an excellent choice for exterior areas such as gardens and outdoor spaces, where it can be used to create a soothing environment.
Lake sand porcelain paving slabs also have a fantastic tint that replicates the natural colours of sand, making it suitable for use in landscaping and outdoor environments.
When it comes to installation, lake sand porcelain paving is rather simple. It comes in a number of widths and thicknesses, making it appropriate for a wide range of tasks. The paving can be cut and sculpted to fit any space and set in a number of designs, including traditional random patterns and more sophisticated geometric patterns.
Another benefit of Lake sand porcelain paving is that it is suitable for use in extreme weather situations. Because porcelain is a thick substance, it is resistant to moisture, frost, and other forms of deterioration. This makes it an excellent choice for places prone to severe rain or snowfall, as it will not bend or sag.
conclusion :
Lake Sand porcelain paving is a gorgeous and long-lasting paving alternative. Because of its natural appearance and ability to mirror the natural colors of sand, it is an excellent choice for outdoor settings. It is resistant to wear and strain because of its porcelain substance, and it is quite simple to install. Proper maintenance and installation can help it last a long time.
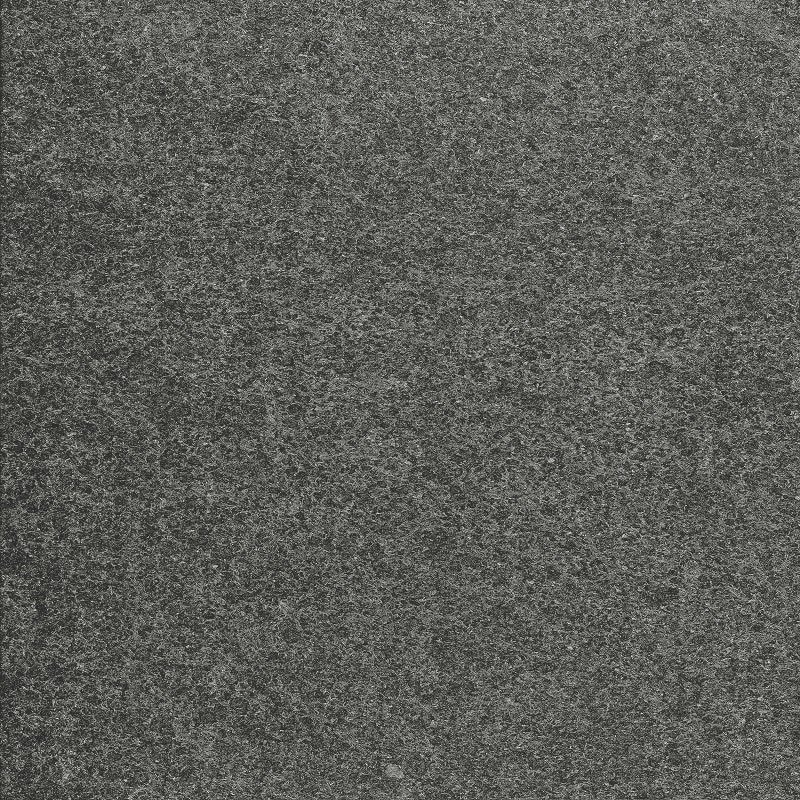
You can also Check our related Products Lake White Quartz Porcelain Paving From here..
Slip Resistant – Stain Resistant – Frost Proof – Fade Resistant – No Maintenance Required!
Suggestions laying with adhesive on a Screed
1 Apply the adhesive spreading two layers, one on each surface (on the tile and on the foundation).
2 Arrange gaps of 3-5 mm between the tiles using the cross spacers provided for this purposes.
3 Upon completion, clean the surface thoroughly removing all residues of plaster and adhesive.
Suggestions laying dry on Grass
1 Once the positions of the tiles have been decided upon, remove the grassy surface for a depth of about 5 mm.
2 Place a layer of fine gravel or sand in the empty space to level it & stabilise the tile.
3 Position the tile, checking that it is flat and correcting this if necessary
Suggestions laying dry on Gravel and Sand
1 Flatten the surface of the foundation with the help of a leveling bar.
2 Choose the pattern, arranging the tiles on the ground.
3 Position the tiles exactly, using a bar to space them out (or cross spacers if positioned close together) to improve the alignment.









 WhatsApp to INQUIRE
Reviews
There are no reviews yet.