Description
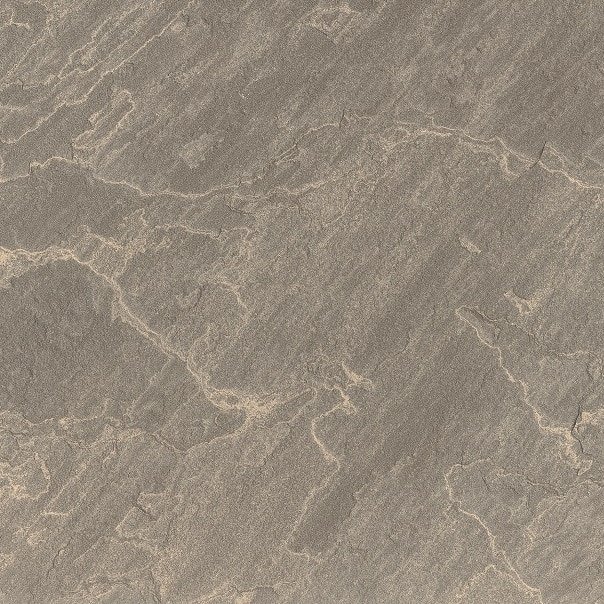
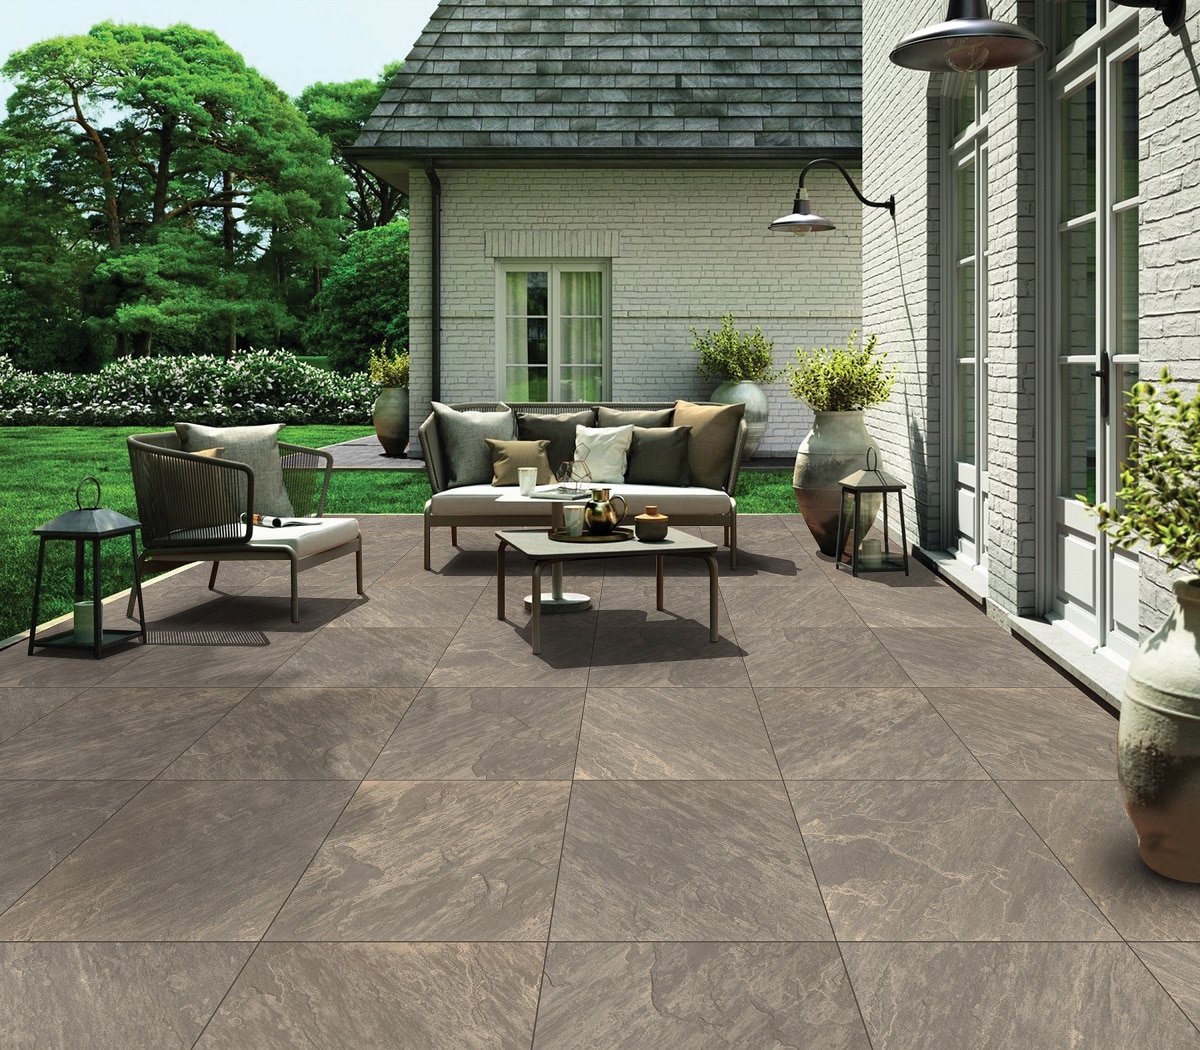
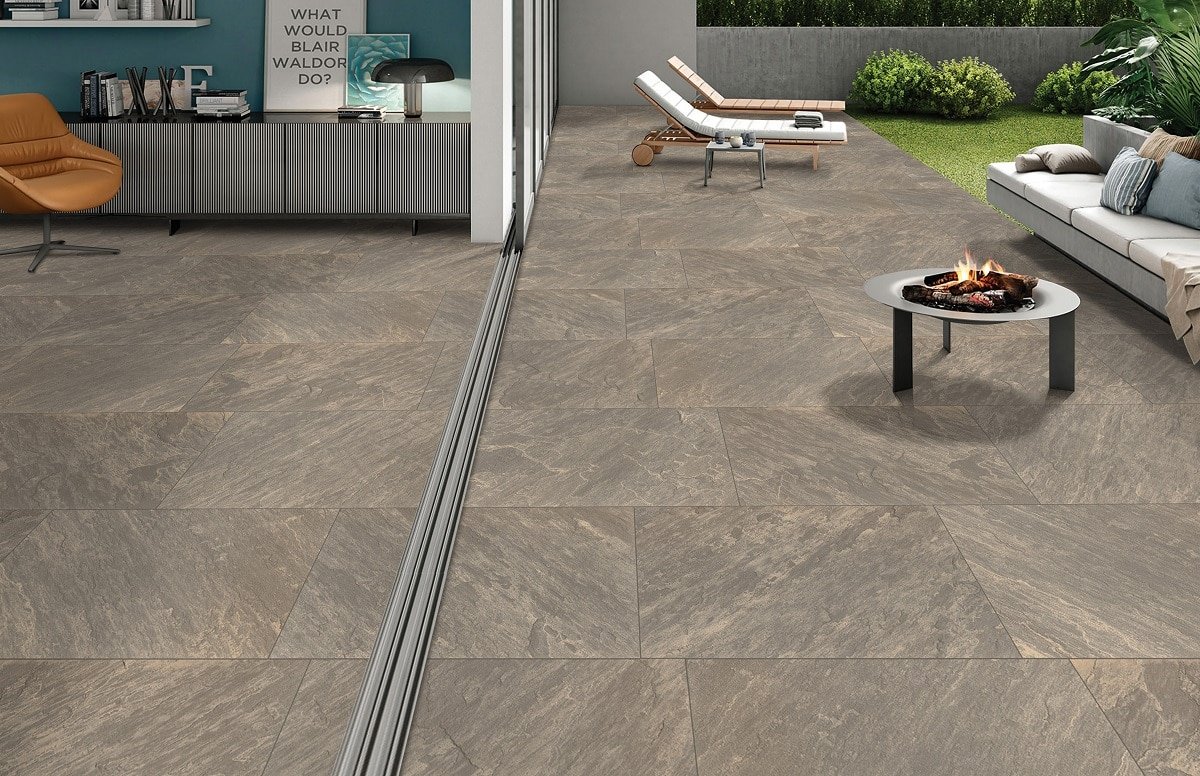
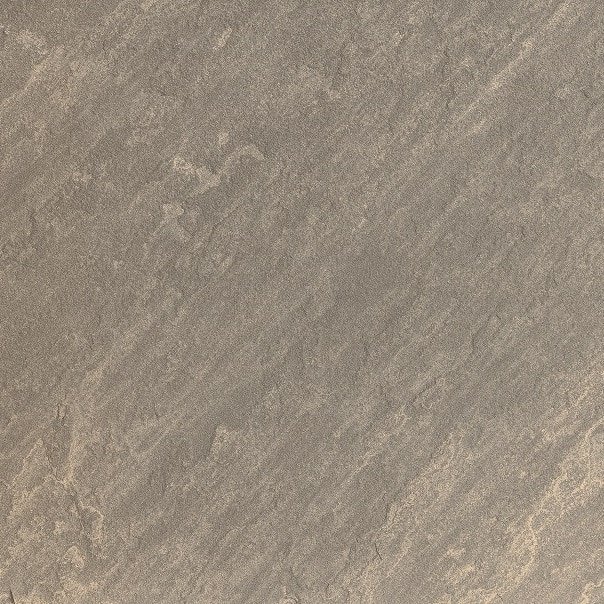
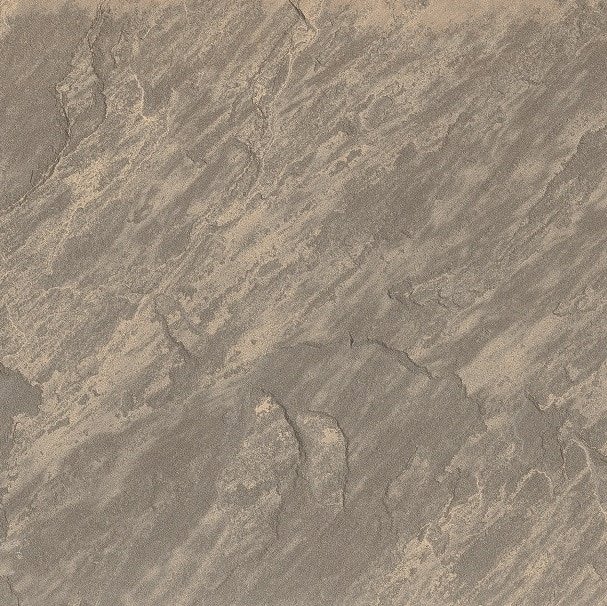
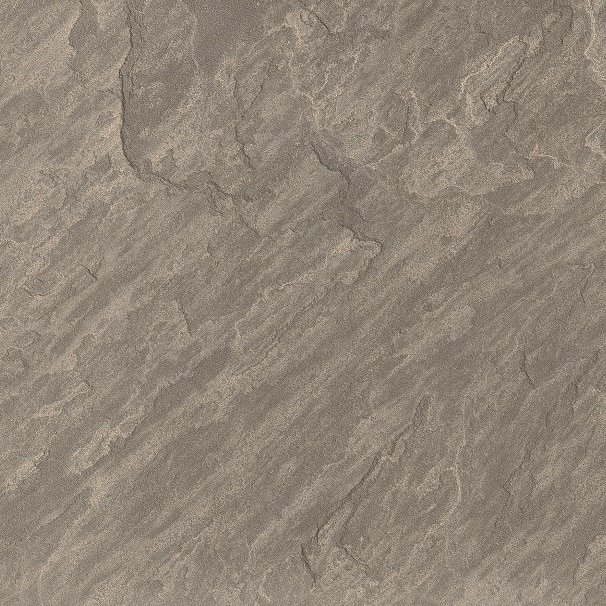
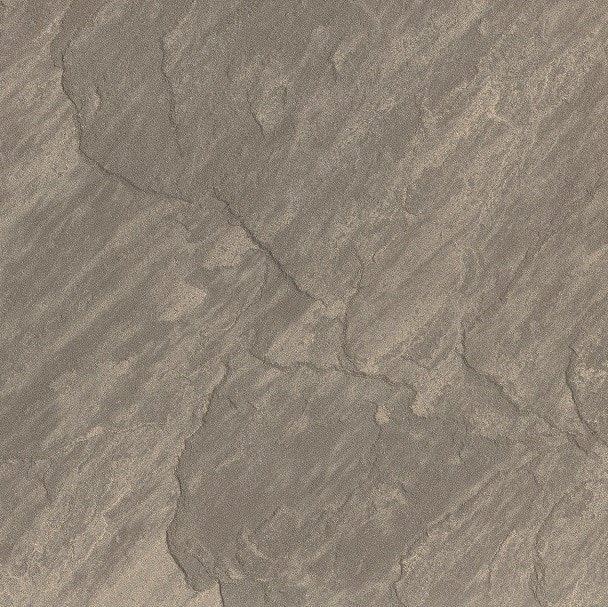
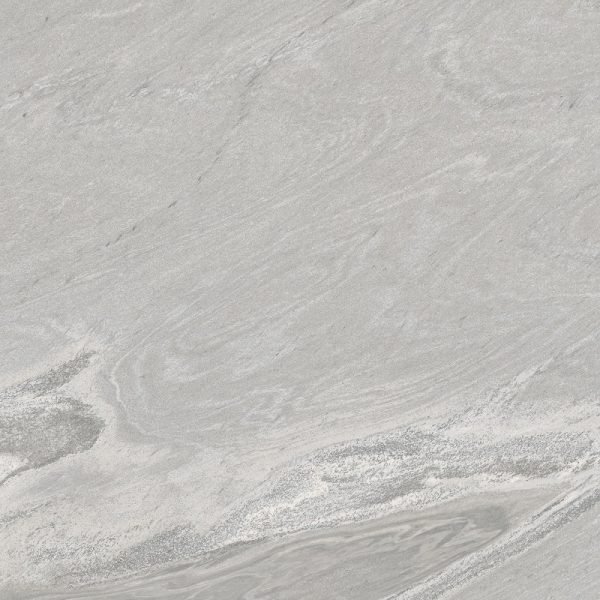
Lake Sagar Black Vitrified Porcelain
The Lake Sagar black porcelain paving hue is a fashionable and classy option that may suit a variety of architectural types. Black is a powerful and elegant colour that works well with current and sophisticated designs.
Lake Sagar black vitrified porcelain paving is not only simple to maintain and clean but also guarantees long-lasting excellence. With a non-porous surface that repels liquids and stains, cleaning becomes a breeze. Additionally, this paving is resistant to moss, mildew, and algae, eliminating the need for chemical treatments. Enjoy a surface that remains pristine and beautiful for years to come.
Furthermore, opting for Lake Sagar Black Vitrified Porcelain Paving offers an additional advantage as it infuses outdoor spaces with drama and sophistication. The striking and eye-catching black color creates an air of elegance and luxury, making it an exceptional choice for outdoor living areas, courtyards, and other outdoor settings that demand a touch of refinement.
Conclusion :
Lake Sagar Black Vitrified Porcelain Paving is a long-lasting, elegant, and low-maintenance outdoor paving solution. Black is a powerful, sophisticated, and timeless colour that works well with contemporary and modern designs. Furthermore, the high-quality porcelain material is resistant to wear and tear and simple to care for. It may add a feeling of drama and sophistication to outdoor spaces and is an excellent choice for any outdoor paving project.
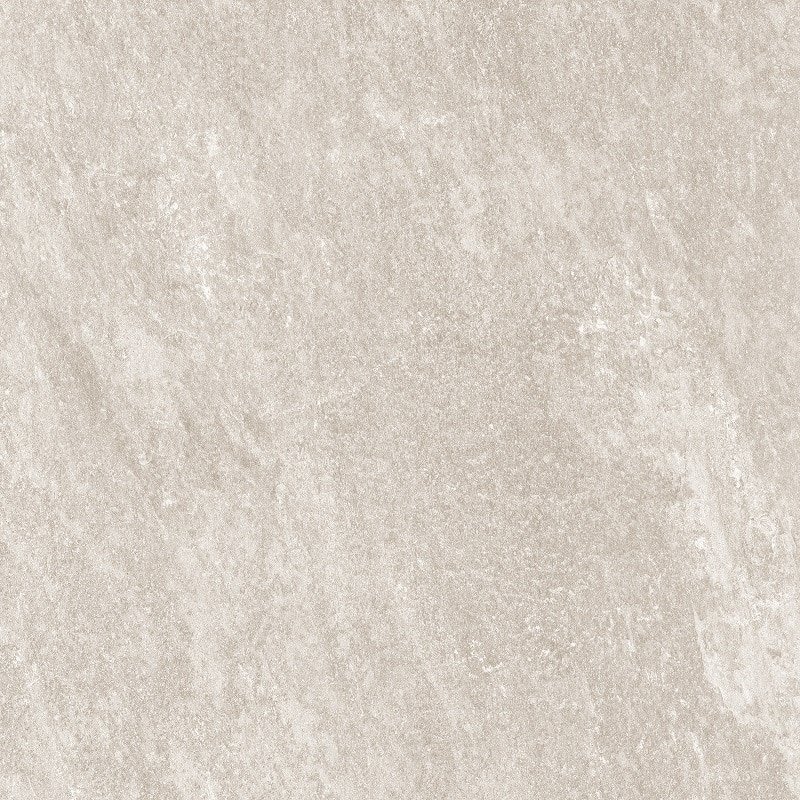
You can also check out our related products Lake Kandla Grey Vitrified Porcelain From here.
Slip Resistant – Stain Resistant – Frost Proof – Fade Resistant – No Maintenance Required!
Suggestions laying with adhesive on a Screed
1 Apply the adhesive spreading two layers, one on each surface (on the tile and on the foundation).
2 Arrange gaps of 3-5 mm between the tiles using the cross spacers provided for this purposes.
3 Upon completion, clean the surface thoroughly removing all residues of plaster and adhesive.
Suggestions laying dry on Grass
1 Once the positions of the tiles have been decided upon, remove the grassy surface for a depth of about 5 mm.
2 Place a layer of fine gravel or sand in the empty space to level it & stabilise the tile.
3 Position the tile, checking that it is flat and correcting this if necessary
Suggestions laying dry on Gravel and Sand
1 Flatten the surface of the foundation with the help of a leveling bar.
2 Choose the pattern, arranging the tiles on the ground.
3 Position the tiles exactly, using a bar to space them out (or cross spacers if positioned close together) to improve the alignment.






 WhatsApp to INQUIRE
Reviews
There are no reviews yet.